Here is a diagram of the current system:

- Gumstix webserver & data logger - This uses a Gumstix Linux box and a simple RS232 link to talk to an Xbee Zigbee radio from Digi (formerly Maxstream). Click here for more info on the radios.
- Indoor display & indoor temp sensor - This displays the indoor temp from a local sensor and the outdoor temp from the remote.
- Remote light & temp sensor - I will discuss this in more detail next.
Remote Sensor unit:
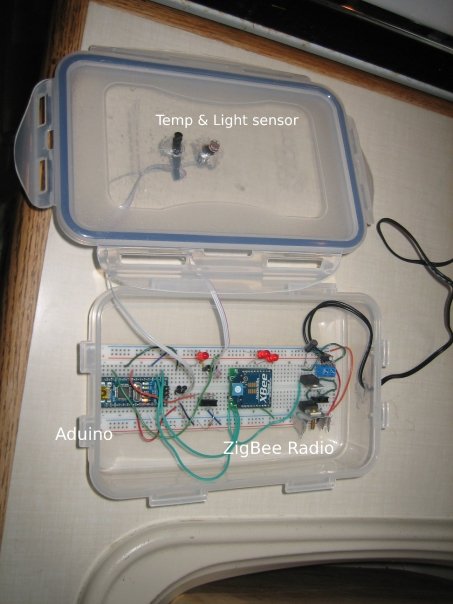
This is probably the most critical unit. It contains:

- A DS1820 OneWire precision temperature sensor
- A photoresistor light sensor
- The on-bard Arduino LED connected to digital pin 13 shows whether the light level has crossed a threshold
- The other LED is to test sending commands over the Xbee
- It can optionally have a moisture detector, but I have taken this out for now
- Power regulators for 5 VDC (for the Arduino) and 3.3 VDC for the Xbee

Here is a view showing the layout of the components when it was using my Arduino Nano:
And here is a more resent shot showing it with my new DuinoStamp installed:
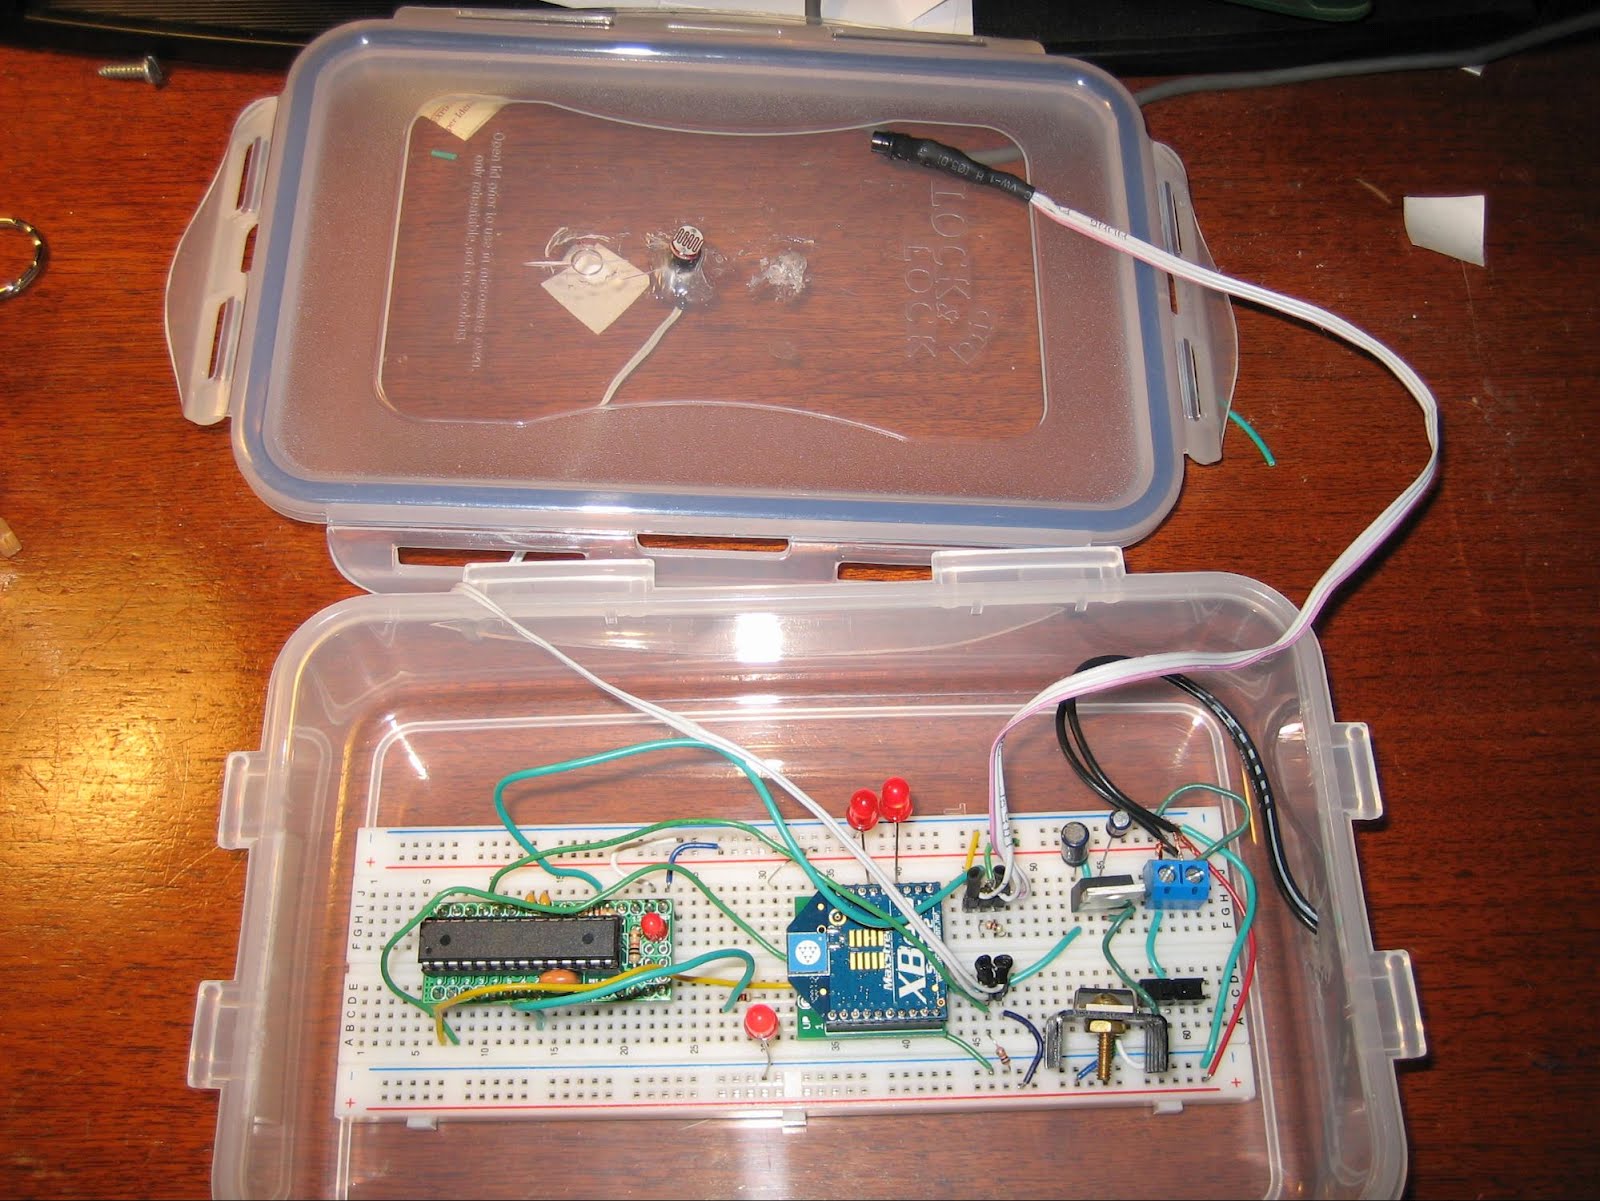
Good heavens I do sloppy breadboard installations! The plastic food container idea comes from Tom Igoe's excellent Making Things Talk, which is definitely the first book to buy if you are interested in this stuff. The box is reasonably weatherpoof and I have had this running outdoors for quite a while with no problems.
The firmware for the remote is reasonably simple, it checks the state of the two sensors (three if the moisture detector is installed) and the values received via the Xbee serial link. If a "g" character (ASCII 103) then the Arduino pushes out the values of the sensors and the state of the two on-board LEDs out over the Xbee. If an "h" is received (ASCII 104) then the Arduino turns on LED 2 connected to digital pin 7. If an "l" is received (ASCII 108) then the LED is turned off.
For those who absolutely have to see the source code, it is posted here. There is a lot of material related to the OneWire digital temp sensor that, frankly, I don't understand, but I borrowed from here.
That should be enough for now. Next up will be the Gumstix webserver & data logger.


I cannot believe you're allowed to use the good Tupperware for this stuff :)
ReplyDeleteI have to buy my own! :-)
ReplyDelete